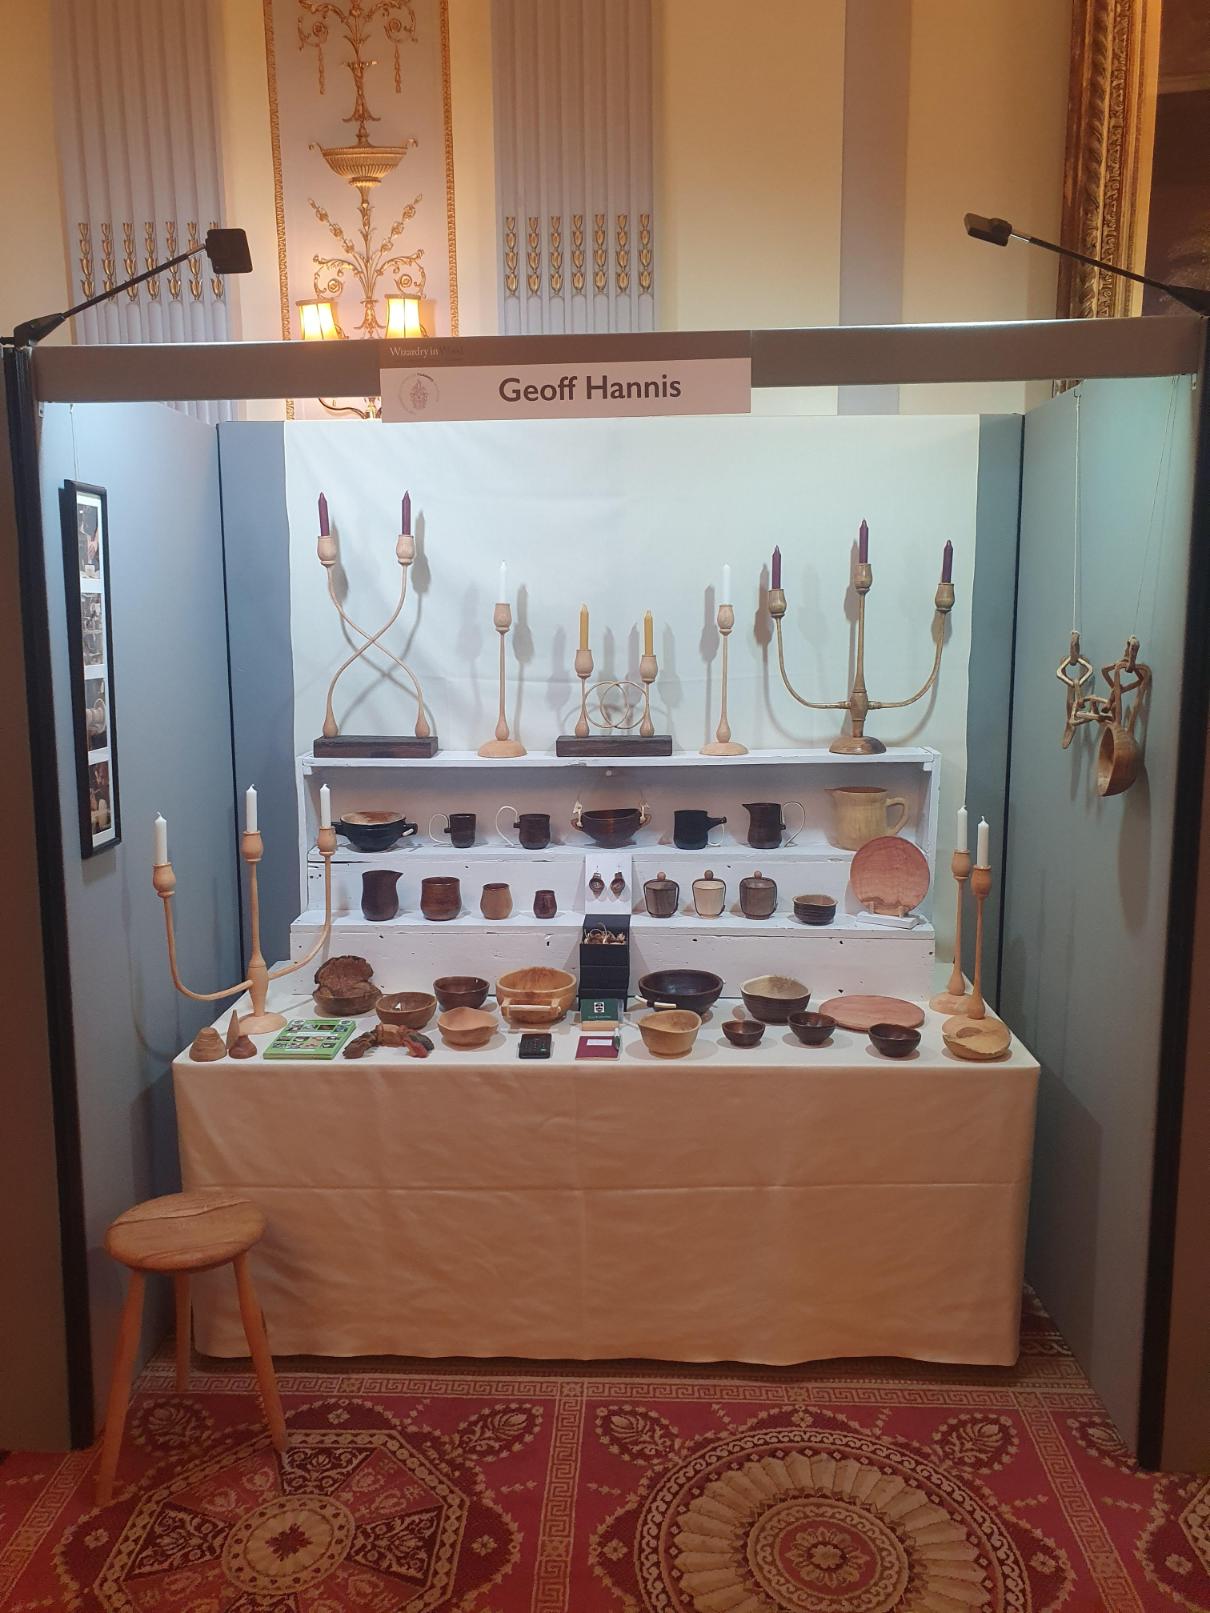
Wizardry in Wood – Latest Works
Today’s blog is more of a catalogue of what I have made for this year’s Wizardry in Wood (WiW) with a bit of detail on reasoning and manufacture process. WiW is a four-yearly celebration of woodturning which occurs in London, organised by the Worshipful Company of Turners. Those pieces which are still available will be on my webshop from the first weekend of December.
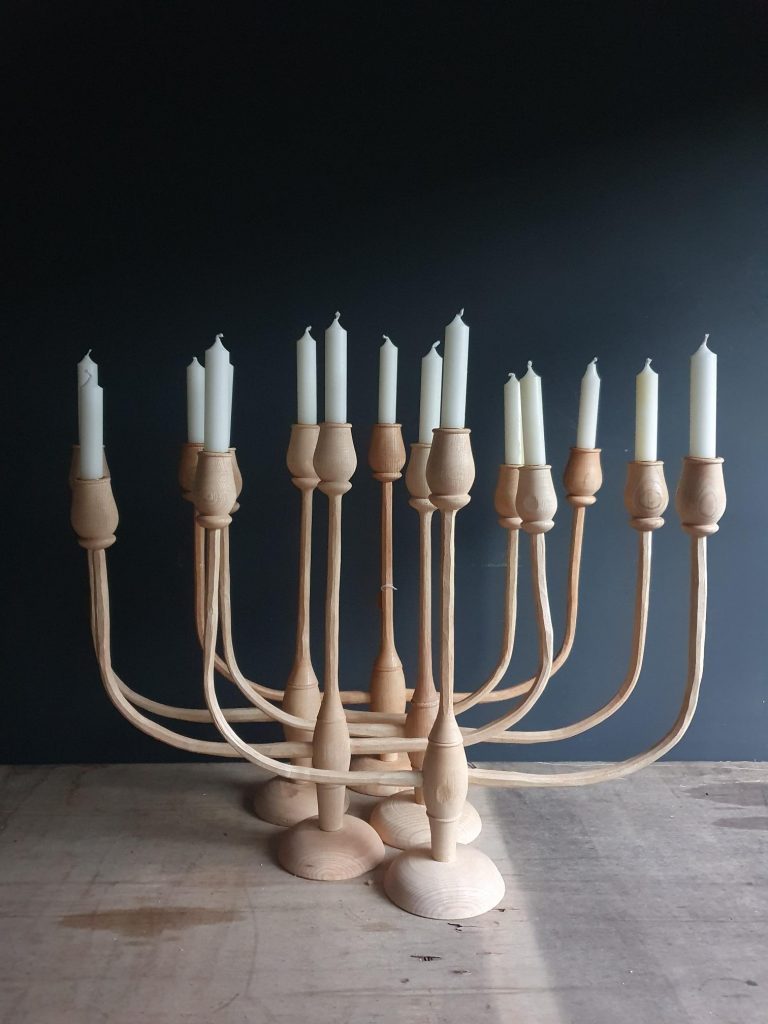
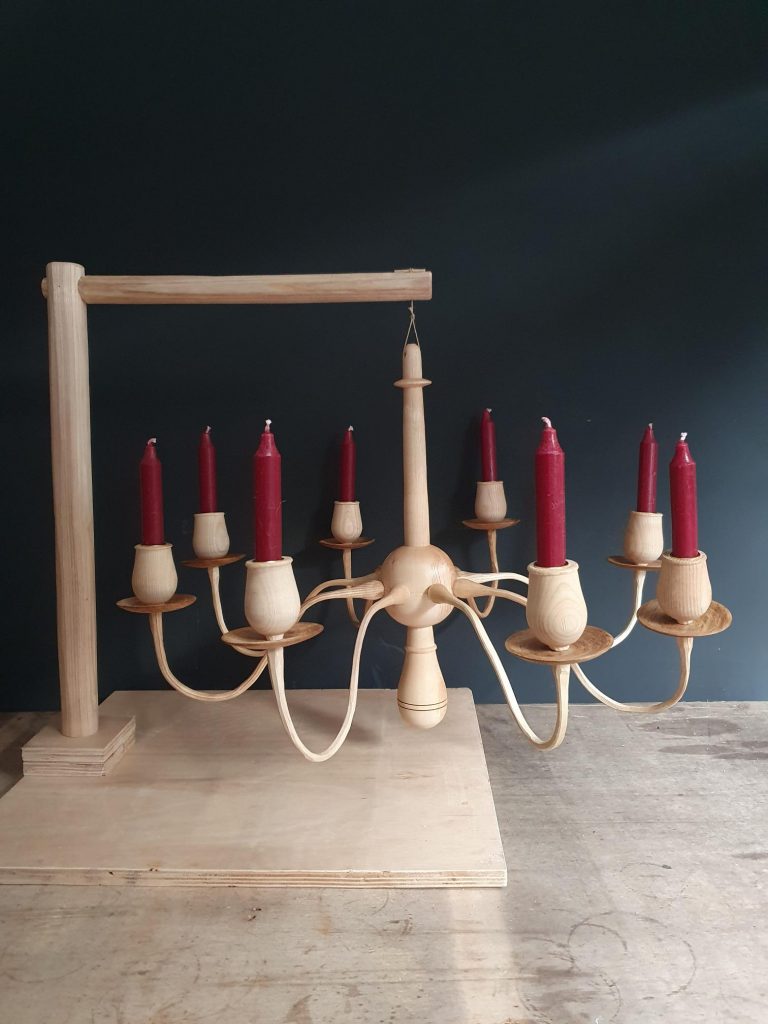
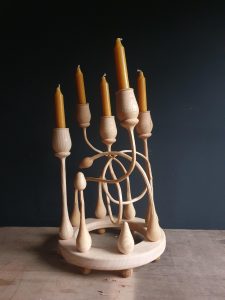
I’ll start with a headline piece, the chandelier: When I announced to the world last year that I was making steambent candlesticks, I released a photo only of the first bend with a candle on the end. I was super proud of the resulting candleabra, but I couldn’t help noticing there were a fair few comments that people thought I was making a chandelier. Well, it took another year, but challenge accepted. One of the things I love about these candlestick sculptures is that I have so many ideas popping around my head of what to make! This one has many parts to it, though luckily they are all quite similar although I deffo held my breath as I assembled and saw it hang for the first time. Thankfully it is as well-balanced as I had hoped. The main shapes such as the steambent curves and the central stem are directly inspired by the metal chandeliers I often see hanging in hotel lobbies. As before, the flowers are based upon the tulip. This time I needed to turn little dishes to catch any falling wax, lest it splatter the floor, and these are made from quartersawn oak. The colour offset designed so as to mimic the natural colour differential of a flower. In order to make things trickier for myself and keep to the pattern which is emerging for these pieces, the end of each steambent stick features a small turned bulb from which the stem emerges. I chose to use some particularly knottty ash for the stems, which is much more work to follow the grain, but has resulted in more lifelike wavy stems. This has resulted in a more organic look with slightly differing heights to each flower, which I really like. I ran out of time to make the accompanying pulley system, but this can be added if required! Anyhows, now I have already received comments about a two-tier one… watch this space!
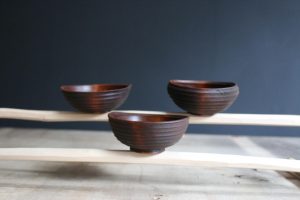
Next to introduce are some of my holly ribbed bowls. When I first made these I used a shear scraping cut using the whole length of the blade of the hook tool, however for these ones I wanted to challenge myself to actually cut each rib. Whilst being technically harder, the risk of getting a catch is much reduced. These bowls are designed to emphasise the tool marks of the making process, with every cut being considered. The urushi lacquer is very good at emphasing that. Two of the bowls are left with an oiled finish inside to show the wonderful spalting that that particular bit of holly had when it was cut out of the hedgerow last winter in the fields above Chew Magna.
The ear-rings have come about as a result of making tiny bowls from tiny trees and shrubs for my 52 weeks 52 bowls project, which has subsequently become a project to ‘turn-as-many-bowls-from-different-UK-grown-woods-as-possible’ (catchier title suggestions would be appreciated in the comments!). At some point my brain thought about making a tiny handled porringer-style bowl, and then I realised it would make a really nice piece of jewelry. I feel I’m only just scratching the surface on this, so depending how the feedback goes on this I may well develop this further. I definitely need to sort out the gearing on my new lathe though as these were a little more painful to turn than when I made the originals.
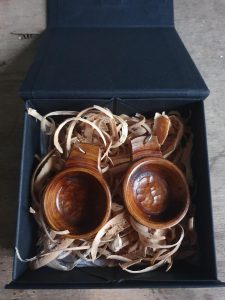
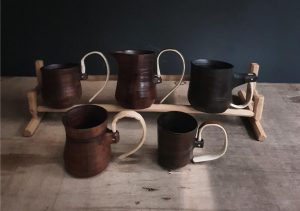
I’m delighted to have made some more nutboxes to share with you. The concept of the nutbox is a delightfully crafted item to house a portion of nuts and raisins for your day out. I tend to tuck into mine mid-afternoon when I would normally reach for a chocolate bar. The noble aim is to reduce plastic waste, but also to engage with beautiful meaningful objects in our daily life. For those that agree with the first point and aspire to the second for now, I can recommend using a jam jar in the interim. I’ve been making these for about four years, but have never achieved volume due to the way we have been hollowing pots on the pole lathe which is very intensive on the elbow joints (through over-gripping) and also the back (through bending to see inside). My new lathe works very well for overcoming this though, however I am having some small issues with tooling which I will hopefully resolve soon to be able to keep up with making these popular items.
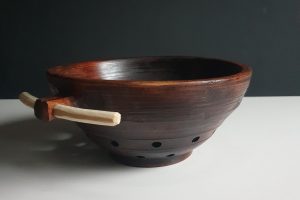
A couple of colanders snuck in to the making plan for this market. I received good feedback on these at Wizardry in Wood, so expect a few more of these once I’ve streamlined the making procedure. It always amazes me how time consuming it is to bring a product to full production as each aspect is considered and iterated to achieve optimum quality and also of course efficiency of making.
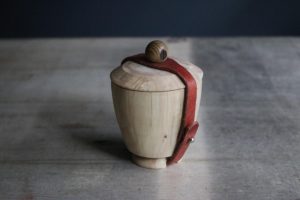
Probably the vessels I am most excited about are the steambent handled vessels. This idea has been four years in the making and I’m super psyched with how they look. I deliberately wanted to contrast the black and natural urushi with the plain white handle, and the little pin to hold it all in place ties these colours together nicely. I am excited by the opportunites this concept allows me (much like the candlesticks), and expect to see more of these as time passes by. The four years research has been persuading myself of their strength and resilience and also that the steamed handle wouldn’t unravel over time!
Finally, the second candlestick sculpture I created this year was ‘Life Cycle’. This was my first time making to a brief and I loved it. The Yeoman competition at Wizardry in Wood had the prompts: ‘Ambition, Renewal and Growth’. Using my reifendrehen technique skills to make a ring of soil to support the tulips, I formed 8 different pieces and interwove them to create the final story of an annual flower: ‘A tale from bulb to flower to death with all the contortions in-between that life affords’. I was particularly pleased to manage to design a piece that placed the functioning candlesticks at distinct locations which resulted in a balanced usuable piece yet also have that deeper more considered meaning. It also is the first time I have tried bending in 3D, and I look forward to doing more of this in the future! As for the roots, I knew I needed to elevate the sculpture somehow, and had thought of a number of ways, in the end going for the simple route of having little balls. A chance conversation at Wizardry in Wood made me realised this was the right choice though, as they are in effect ‘root balls’!
Which one was your favourite? Please let me know in the comments!