
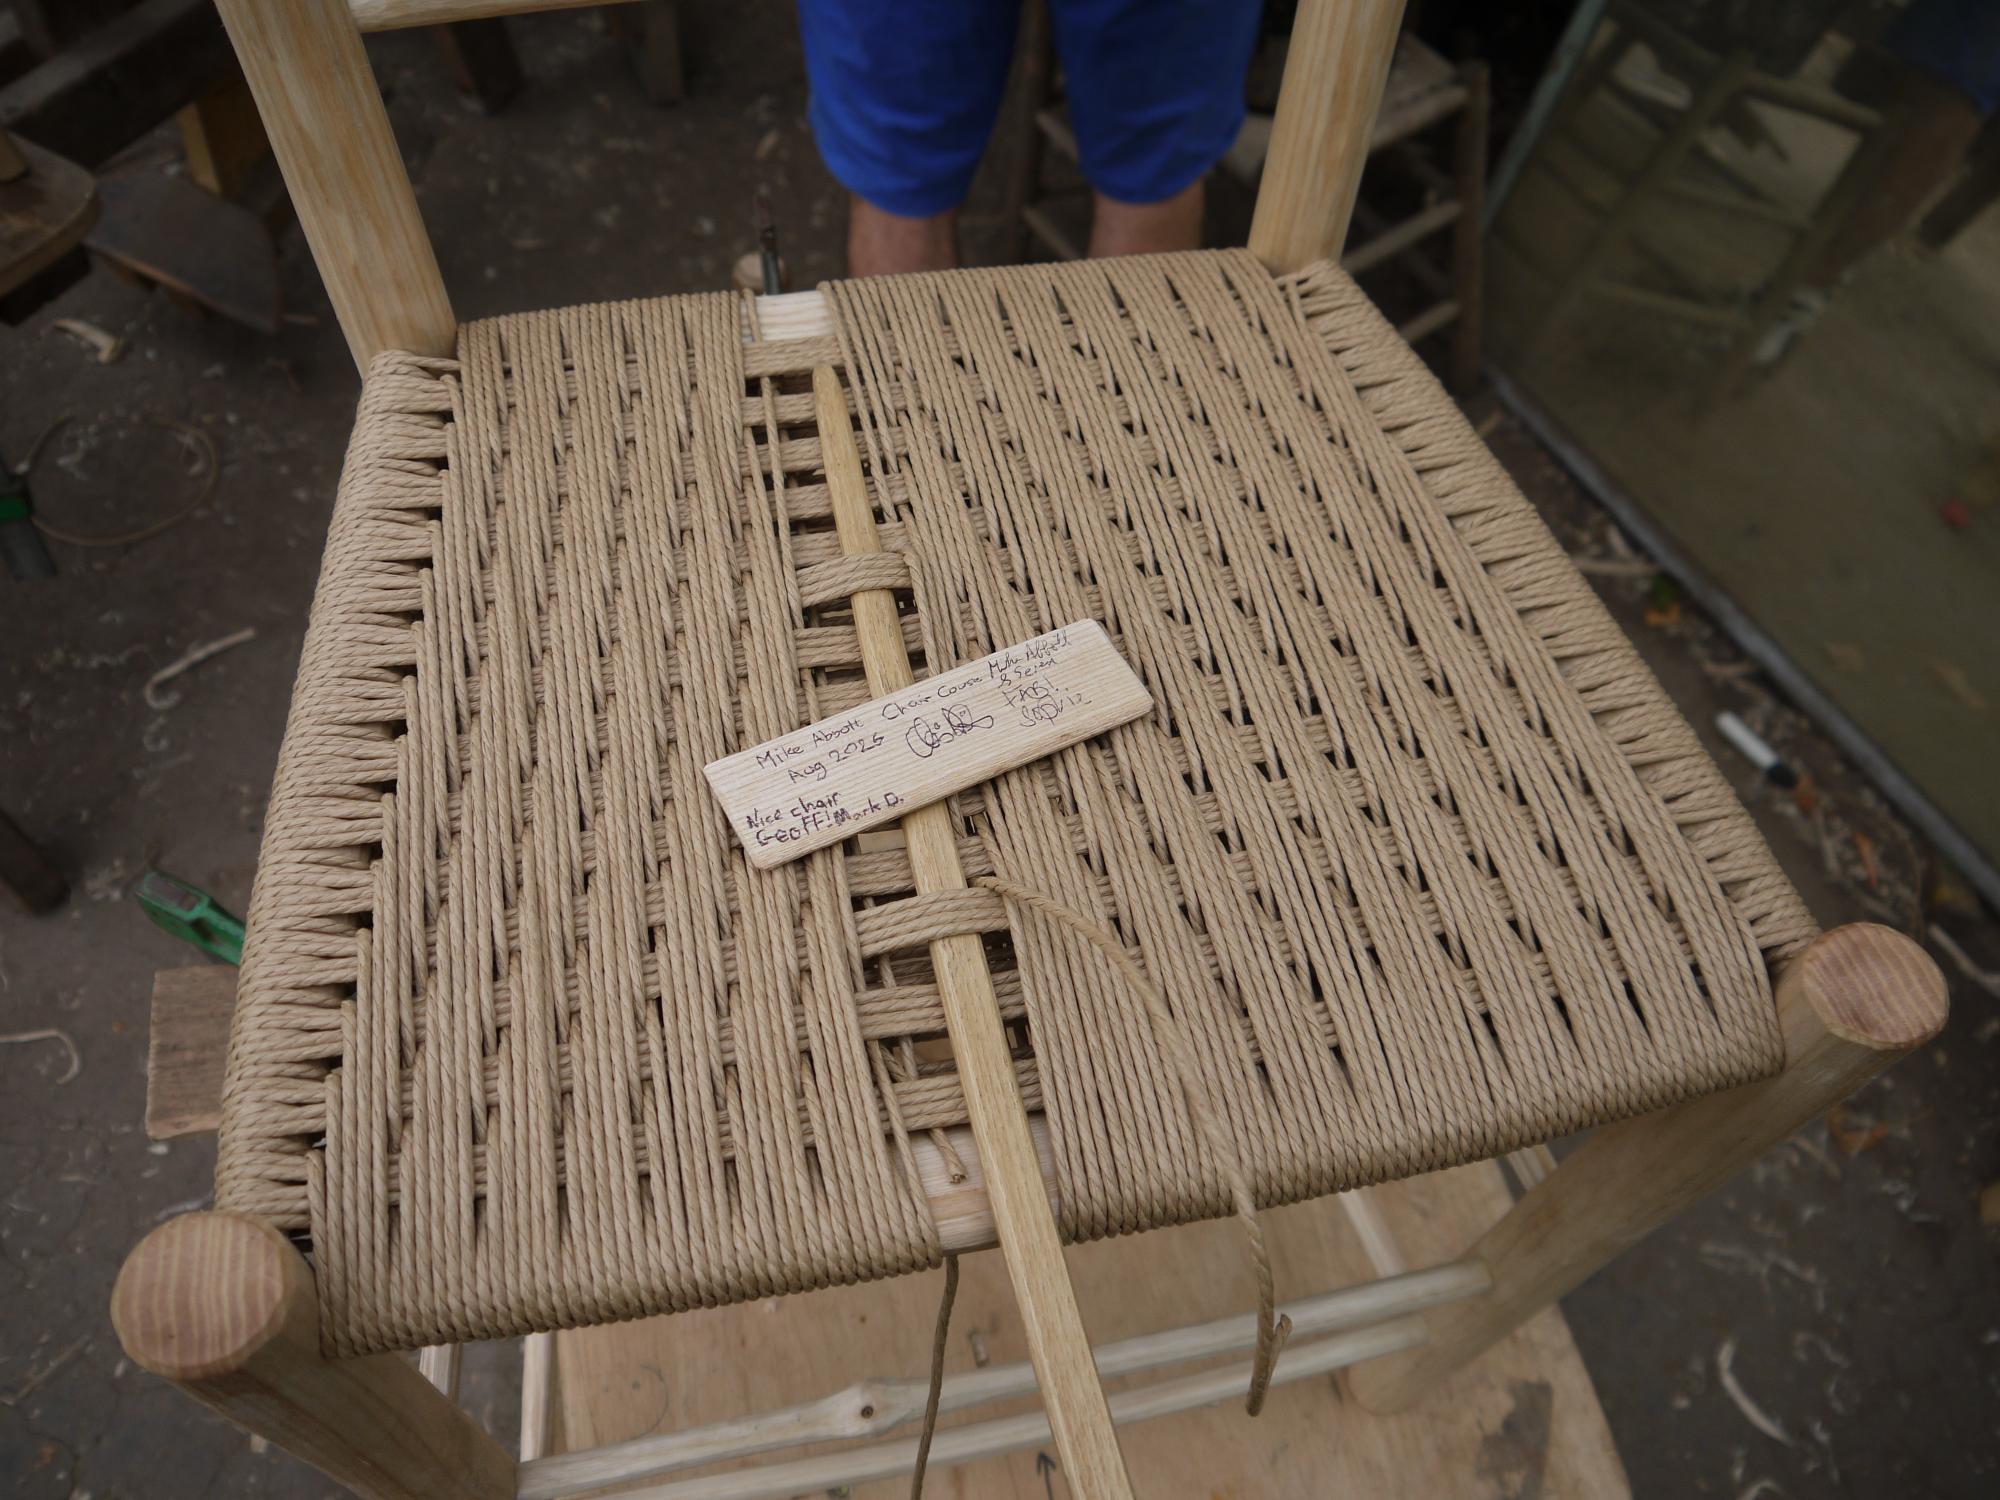
Mike Abbott Chair Course – Aug2026
Every now and then as a maker and teacher it is wonderful to become a student again. A few years back at the Bodger’s Ball Mike Abbott came up to me and said ‘you haven’t been on my course yet and I’m not getting any younger’. Initially part of me thought, ‘you cheeky git’, but luckily the other side of me realised that actually I really did want to go and spend a week with him. So, in his 41st year of teaching I found myself pulling into the driveway of his cottage and commencing a week of woody immersion.
I had a number of reasons to be there. Firstly, my partner and I are slowly filling our home with handmade and meaningful objects, replacing the functional yet comparatively lifeless items we’d accumulated thus far. A set of kitchen table chairs has been on the menu for a while. Secondly I wanted a chair I could sit in comfortably given most chairs are two inches too short for someone who is 6’4”. Thirdly I have all sorts of ideas of furniture I want to make. Finally, for me it is a great thing to be a student again and I really enjoy spending a long amount of time in the company of experienced makers ideally in their workshop. I find I learn so much more about them and also myself this way. This trip was no different in that respect and I’m very grateful for the opportunity to have spent time with Mike.
For those that do not know, Mike has written a number of hugely popular books that have helped to shape an entire generation of green woodworkers and partly responsible for the ever growing movement we see today and of which many of you are part of. My approach to rent some land and then build a workshop is strongly influenced by Mike’s book ‘Living Wood’, as well as me seeing that in action at the Cherry Wood Project near Bath, and also of course, spending time at one of Mike’s old projects ‘Brookhouse Woods’ (now sadly derelict after a change of ownership).
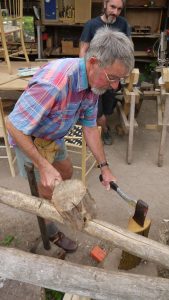
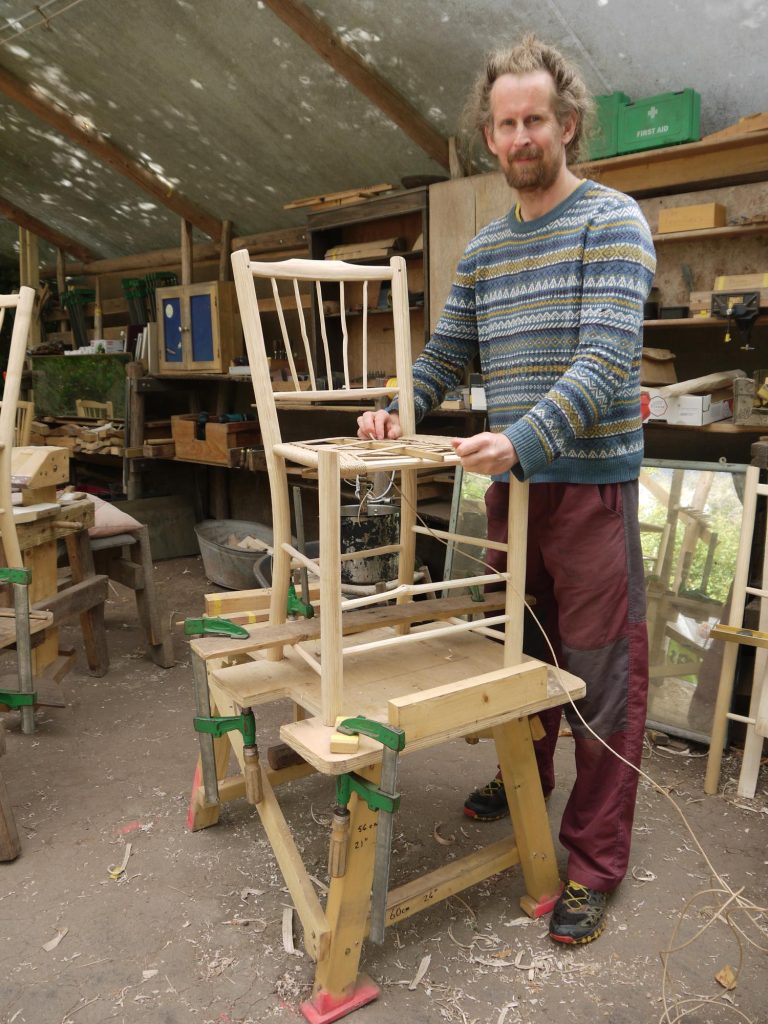
Day 1 of the course was spent making our rungs, and chair backs. First though we were introduced to Mike’s number system. There are good and bad numbers, and he these days uses those to dimension his chairs. Having been taught about magic numbers in school I was totally ok with this, although perhaps others were a little sceptical! I’m proud to have made a Mike Abbott style chair where for the first time the rear rung is 343mm in length (7 x 7 x 7, a good number indeed!). I chose a spindle back rather than a rib-backed chair as it seemed simpler and I wanted a more relaxing week. However each day is long, starting at 9 and ending at 6 (sometimes 7). We always have regular breaks though, which meant it never felt rushed, and the pace of delivery is perfect to take it all in, so it doesn’t become overwhelming. We finished the day with our rear and side rungs made, our rear seat rail as well, plus our crests steam-bent and spindles made.
Day 2 was mainly about back legs. These need to be cleaved, sheaved, and shaved before being steambent. The steambent parts need time to set and the parts which are not legs also need to dry before assembly, so things are a little against the clock. Once our legs were done it was onto finishing off our seat-rails. A few notes about seatrails, in Mike’s opinion the design should vary depending on the weave to be done. As I wanted to do an Irish weave my side seat rails looked different to the usual ones as Mike finds this makes it easier to get an even weave. Also my front seat rail was curved in both directions after Mike made the recent mistake of assembling a chair with the front seat rail the wrong way round and it therefore bowing outwards towards the front. Aesthetically it looks very pleasing though, so on my chair we made it a feature. I love how mistakes often lead individual makers to change their designs and processes. We also finished all the front rungs. Apart from front legs we were now ready for assembly once everything had dried!
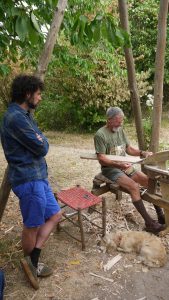
Day 3 began by making our front legs and getting them in the kiln. With that done we were ready to start drilling. This began with the back assembly (spindles in crest rail), and by the end of the day our rear legs were also drilled and ready to assemble fully the next morning. Mike used to assemble chairs by making the sides first and then the front and rear, but has recently switched to assembly the back and front first mirroring a number of other chairmakers. To me it seemed more intuitive to do it this way.
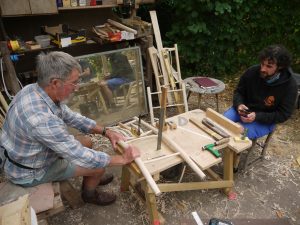
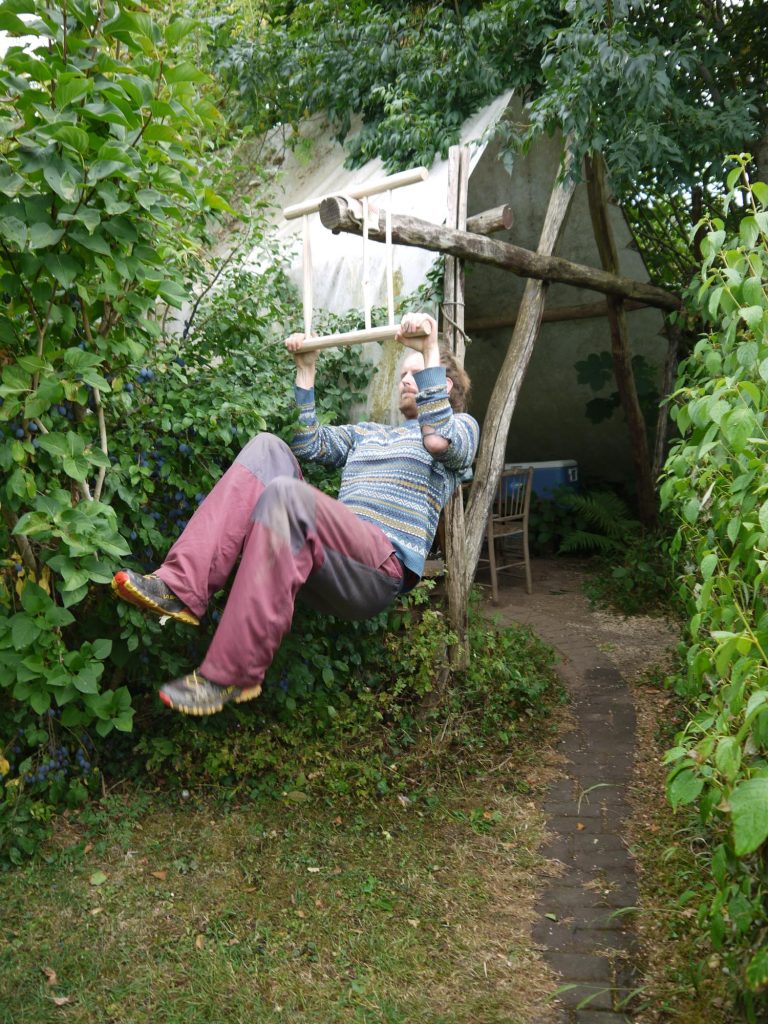
Day 4 was all about finishing off assembly. So we had to squeeze together out rear frames and then also drill and assemble the front frame (much easier than the rear, fewer angles to get concerned by!). We did the obligatory hang on the front frame to prove how strong these joints are. The tenon is oversized to the hole it goes into, and the whole frame is squeezed together with a clamp. The noises this clamping make were both exciting, and at times, petrifying. Doing this as a one-person operation is something I’ll have to work up to! Before long the side rungs and rails were ready for assembly and we had the frame of a chair! Before going home we applied a coat of oil to it to protect it.
On Day 5 we put a seat on the chair. Mark (a fellow student) and I had both chosen the same weave and so helped each other keeping the weave tight and the rhythms quickly followed. We were using danish cord which seems like a nice material to use that more or less behaved itself and seems super strong! In time I would like to learn rush seating, but that’ll have to be once I have a few frames to do. By all accounts it sounds tricky! It was lovely to take a break from the seating in the middle of the day and to visit Tamsin (Mike’s wife) in her workshop at the end of the garden. She creates incredible stained glass windows and has just used these to illustrate a book with words by Jackie Morris called Wild Folk. After a few more hours weaving the seat was done and it was time to level the chair before the big moment sitting in it as a finished product for the first time!
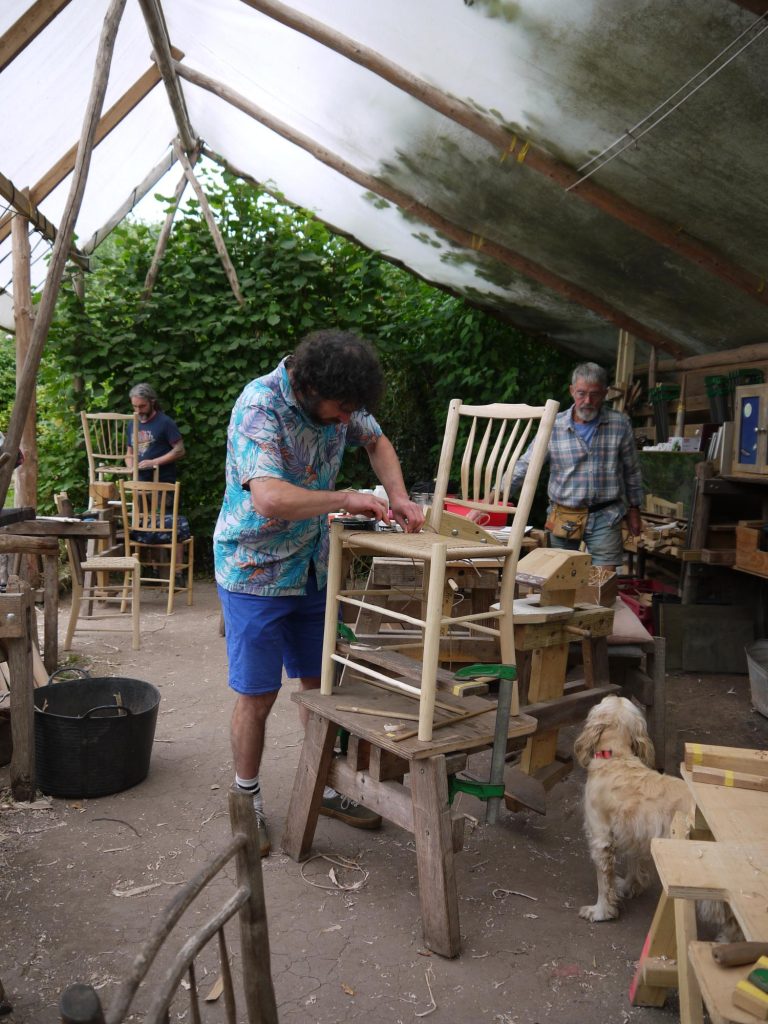
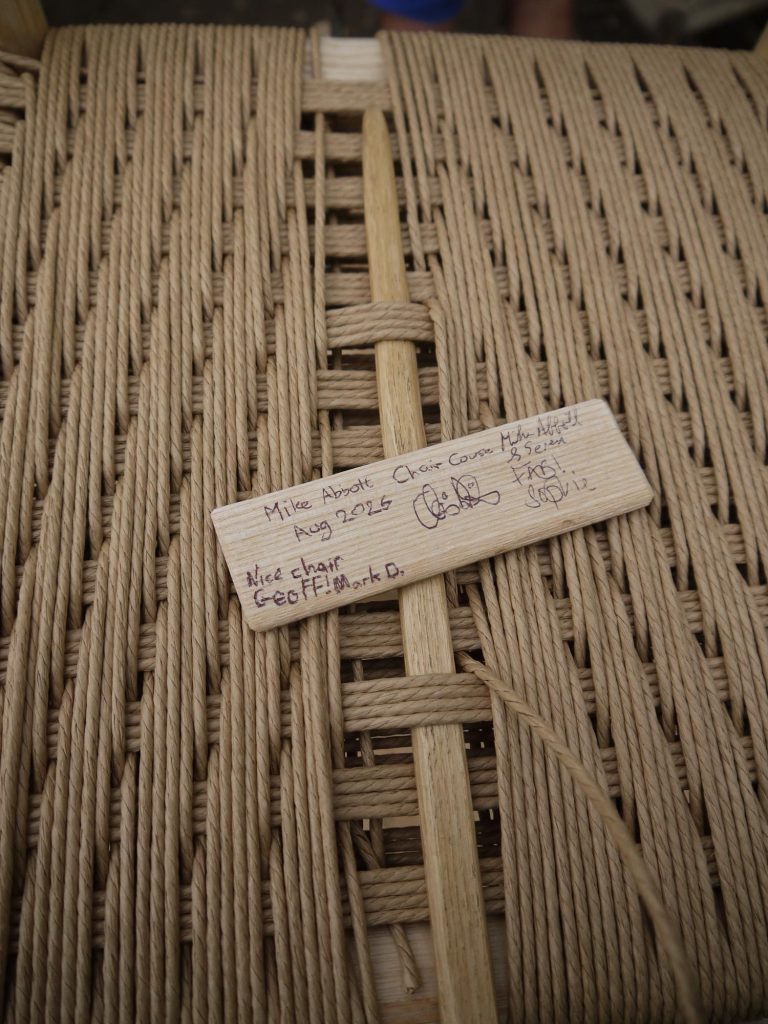
Sitting on my chair for the first time felt incredible and no sooner had I got up then Seren (Mike’s dog took my place). I’ll take that as a seal of approval 🙂 . I hope to make another 3 chairs this winter for the house. Beyond that I think more furniture making will have to wait until I have a sealed workshop where things don’t go mouldy in the winter. There is also the small case of the big life change I mentioned a while ago in an instagram post. In late January, all being well, I’ll become a Dad for the first time. I’m looking forward to it immensely!
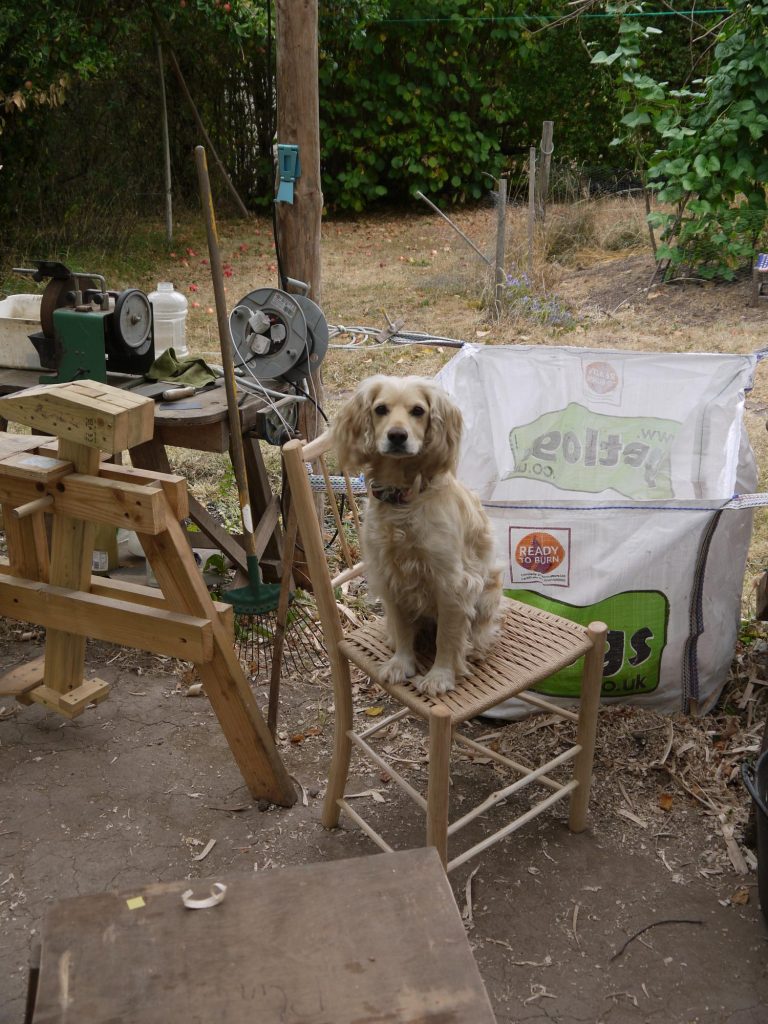
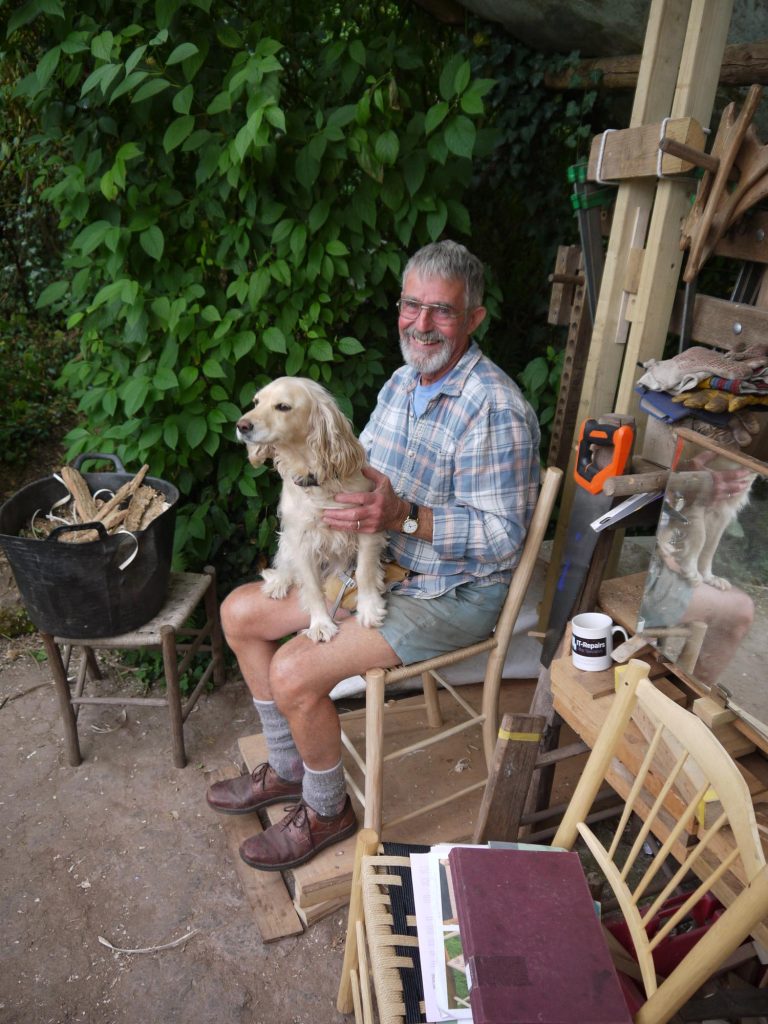
As for Mike, going forwards, it is not clear how much more teaching Mike will do, if you want to do his course I recommend contacting him now, as the more who express interest, I imagine the more likely it is that he’ll run a course or two again next year although with no guarantees. 41 years is more than enough, but then again, maybe 42 is a nicer number?
If he chooses not to, there are many other greenwood chair courses run across the country and a few are listed here (sorry to those I miss off, msg me and I’ll add you on!):
– Ben Willis – London.
– Jason Mosseri – Hope Spring Chairs, Sussex.
– Peter Wood – Greenwood Days Derbyshire.
– Rob Duckmanton – Elleker’s Wood, Yorkshire.
– Peter Lanyon – Devon.
– Somerset Bodgers – Bristol.
– James Mursell – The Windsor Workshop, Sussex
Plus a few who are setting up to teach and may be ready for 2027:
– Tom Dillon – Clissett Woods Hereford
– Harry Morris and Alex Skawinski – Bristol.
I thoroughly enjoyed my time with Mike, Tamsin and Seren. Plus my fellow course attendees, Sophie, Mark and Chris. Hopefully our paths will cross again one day. On top of all that I have a beautiful and comfortable chair to sit in and eat my breakfast from for the rest of time 🙂 .
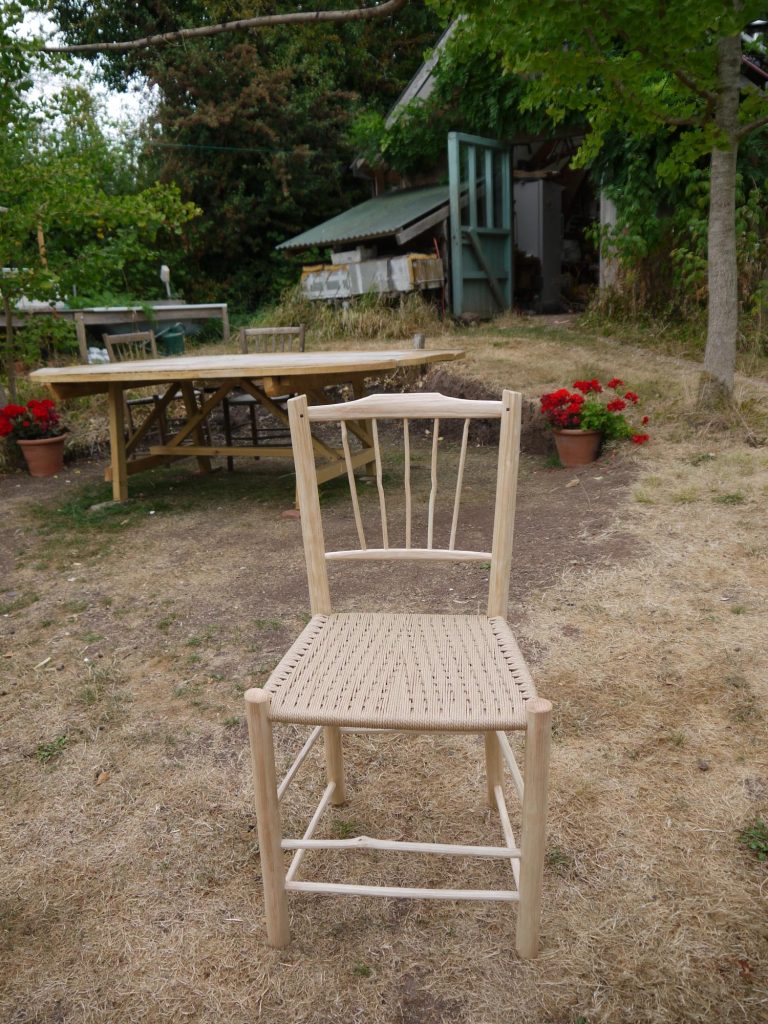
A great chair made with the supervision from of a great teacher. I still have meany fond memories of making a chair with Mike in Clissett Wood 26 years ago.
If you are wanting an assistant to help with another chair next spring let me know
Thanks Jasper,
I might need a hand with parenting 😉 ! Be good to see you though!
All the best,
Geoff